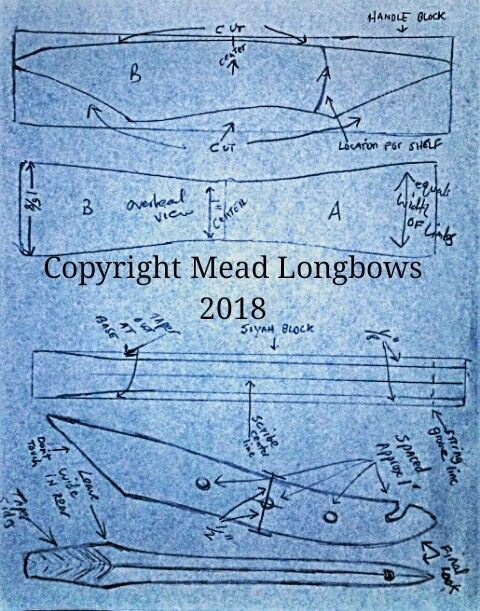
The limbs should be even thickness. Use the limb walls as a guide for thickness at first. The entire limb will have gentle even tiller. Ensure the mating surfaces on the bamboo are as flat/level as possible before glue up. The base/underside of siyah and limb union needs to be a little wide and flat to accept string. Place alignment marks when you are positioning and lining up your siyahs to limbs, and limbs to handle. Now these parts are ready for glue up. It is best to glue the bow up with the parts being squared off and rough. Dimensional edges makes it easier for the eye to line things up. (see video for glue process, glue and wrap application should be done in room temp) Once the bow is assembled with glue and the glue has cured you can bevel the edges and take all parts to final dimensions working your way down to fine sanding all the tool marks out. (see sketch)Now you can move onto bow adhesive wrap as shown in video. Once bow is built and cured, check it’s tiller and scrape/sand where needed. Again use the walls of limbs as your thickness gauge. Some even though still concave will have same wall/edge side height. If the draw weight is too high and the tiller looks perfect it is best to only remove material from the sides in equal strokes until desired draw weight is achieved. Check the tiller each time you remove material by drawing the bow 15-20 times. I suggest you shoot the bow some first and then decide before you remove material that you cannot put back. If you do end up taking off too much material and the draw weight is too light then shorten the limbs by .5 inches. For complete instruction of these please see the video series below. Template below, some printers need to be scaled for proper sizing. Actual dimensions are written on photo for reference. A good starting point for limb profile is approx 1 inch wide at base to 1 5/8" - 1 3/4" wide at fade to match handle then taper to 1 inch wide at tips to match siyah base width. Reduce side profile if necessary to drop weight or increase draw length when needed. If you ordered raw materials/kit remember they have no real protective coating on them other than a small amount of natural oil that I apply to it before shipping. This only slows down the process in hopes to prevent drastic moisture loss and gain while traveling to you. Keep in mind bamboo hascharacter lots of it. Checks and scratches in the waxy outer layer called the rind is normal. When shaping the limbs to a rough bow blank before tillering start with 1 ¾ width at base of limb tapered to 1 inch at siyah. The width of the fade area will be determined by the final width of your handle before glue up. Slightly narrower for the Comanche short bow kit. Keep in mind the Comanche kit is short draw only and these limbs are shorter than the deflex or reflex bamboo Horsebow kit limbs but the tillering and shaping is identical in process and technique. Glue up as well. The Comanche kit will take less time and is less difficult to build. All the videos and instructions on this page are universally applicable to all the kits. Enjoy!
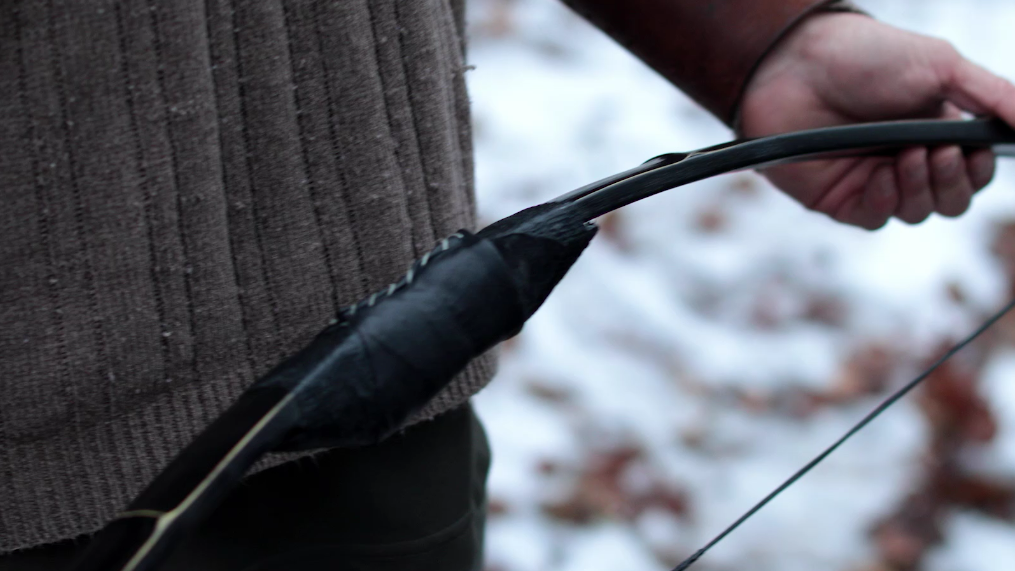
Steve H. - California
"The bow came in Friday and she was just awesome! Thank you so much for the extras also! I drank the Mead Kool-Aid and its was intoxicating! I am ruined! But it's for the better though. The performance this bow delivered exceeded my expectations!!!"
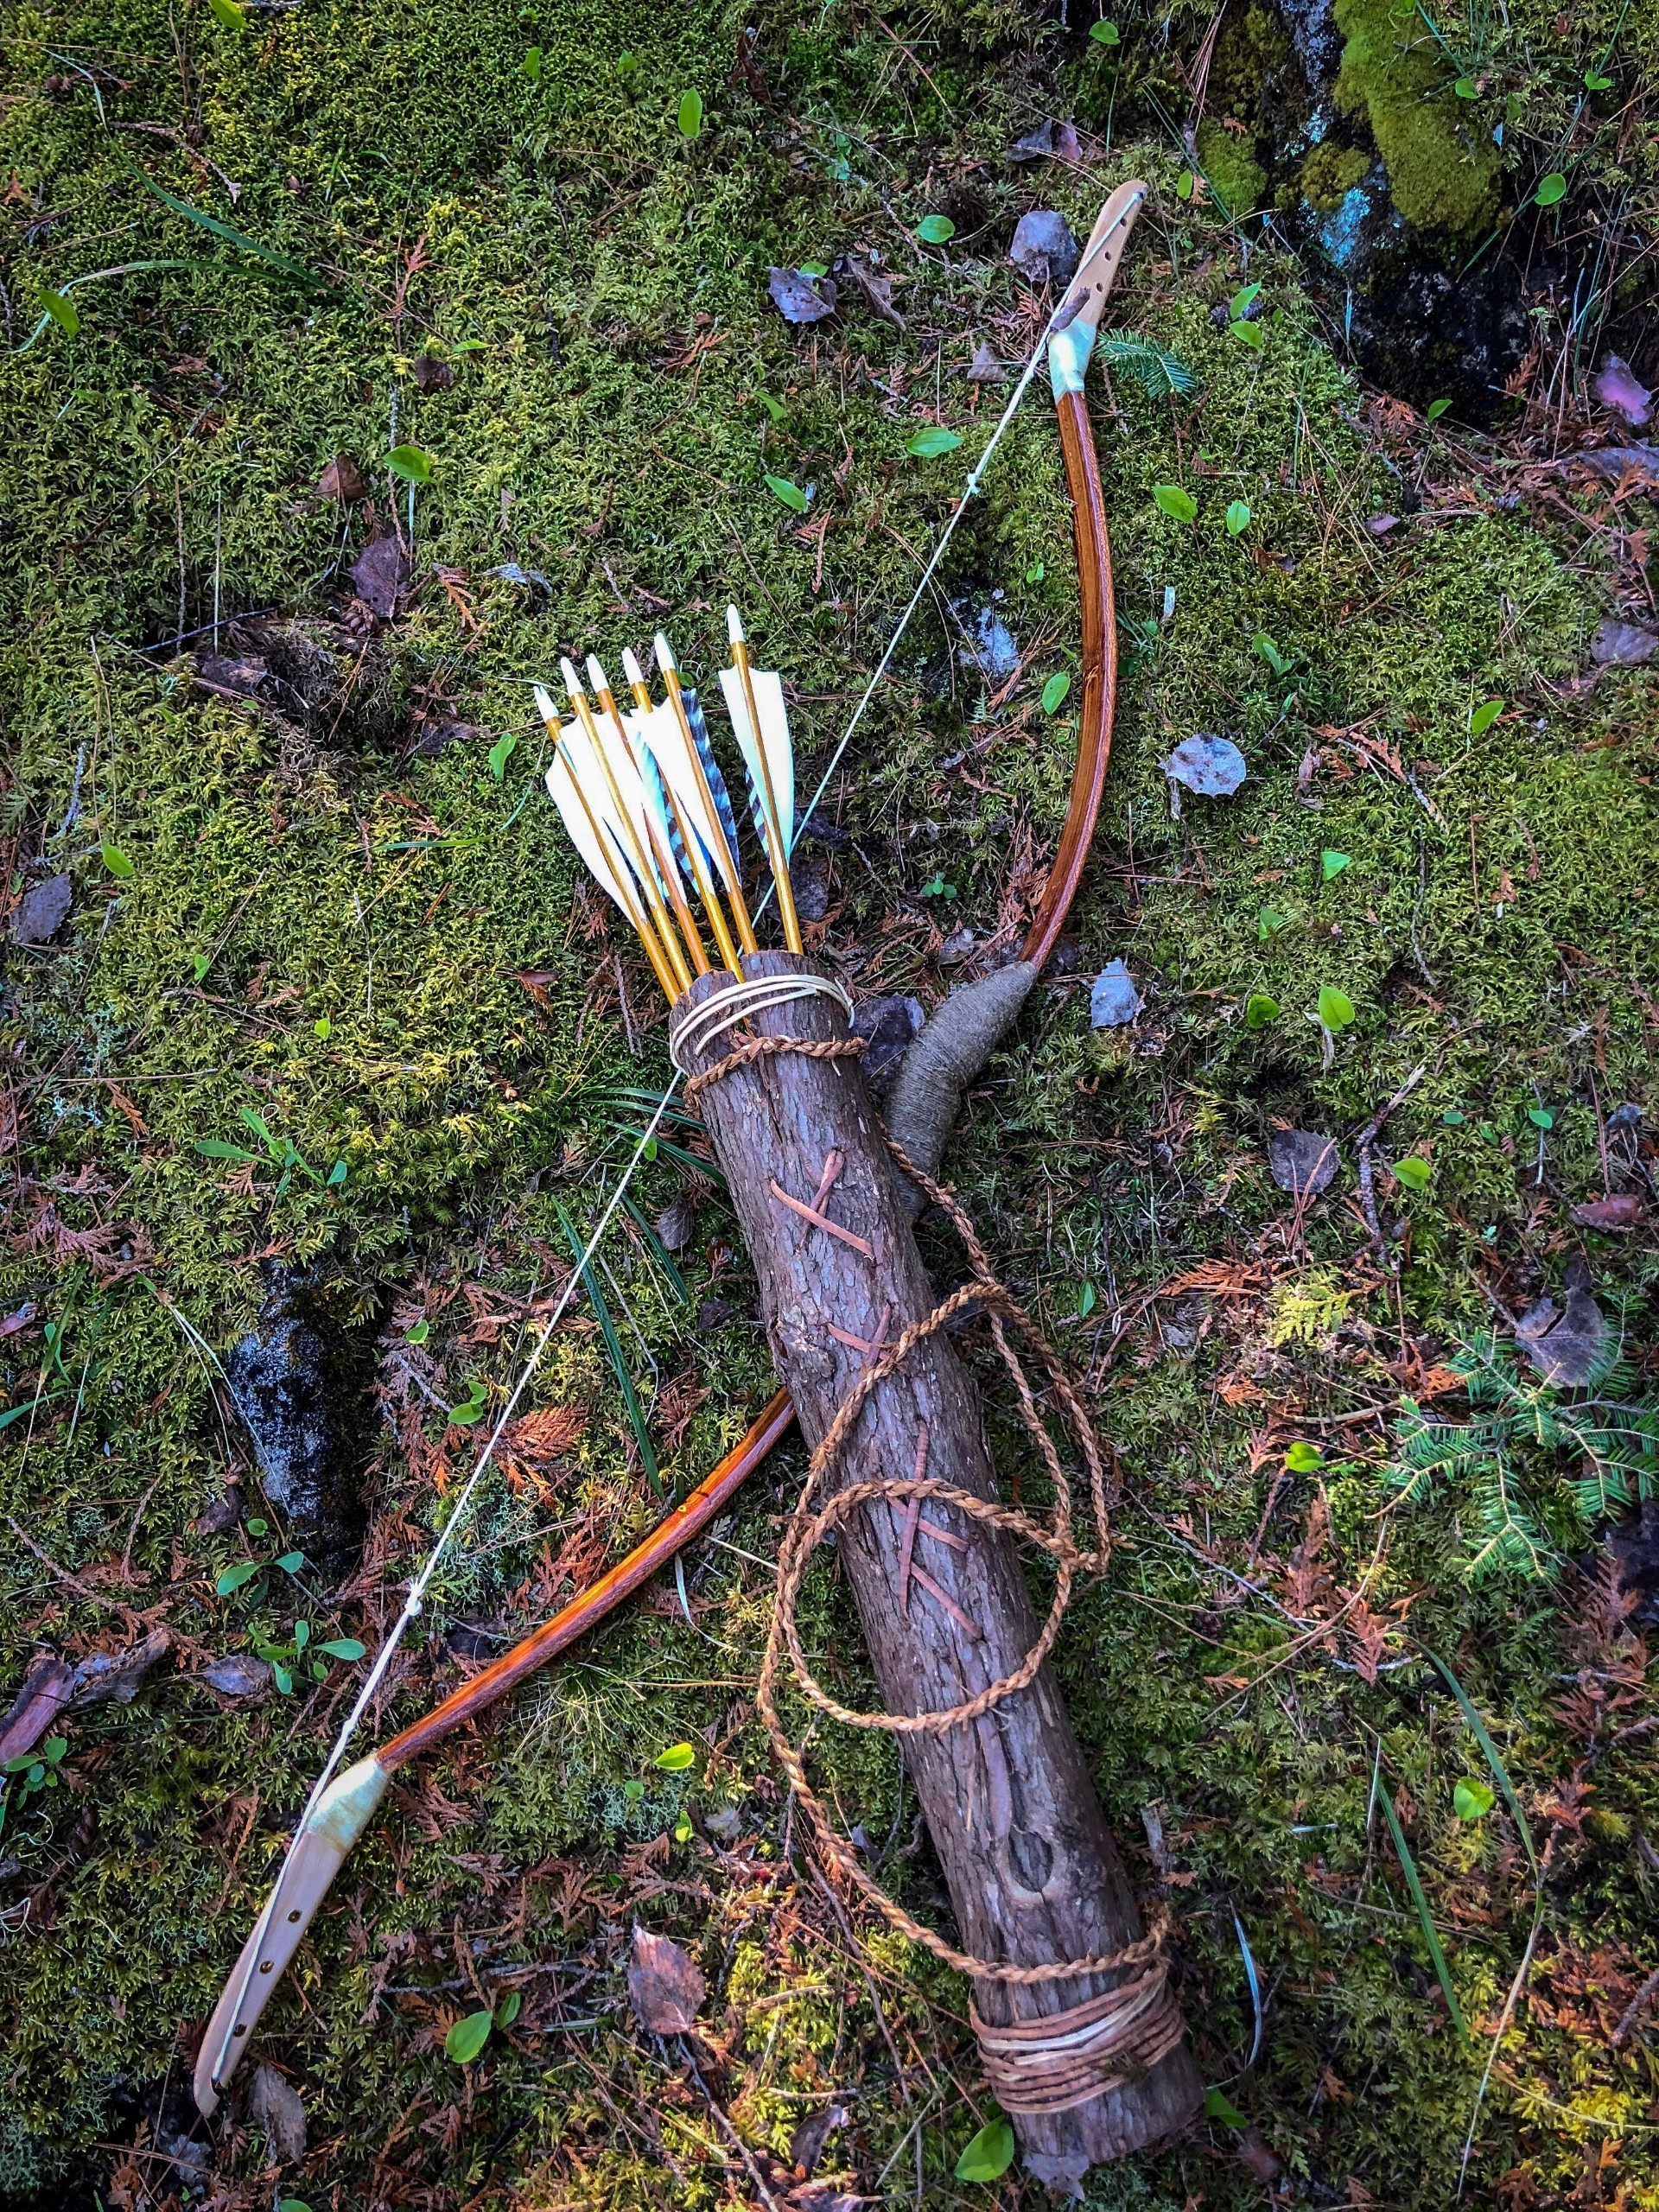 Coach Mike - El Paso, TX
"Wanted you to know that my "Bamboo Bambino" is working great. I even made a set of bamboo arrows to complement the the natural theme. One of my archery friends purchased one of those $80 Chinese bows to compare with your natural "composite" bows and was astonished at the speed and smooth draw of mine. He could of invested just a little more and got the "REAL" thing...! I am very pleased with my bow and re watched your Tube Videos over and over. Would some day like to meet you in person and perhaps make a build on one of you new deflex bows. You are to be commended for making available a piece of history that can be enjoyed by many at a very affordable price. BTW...My friend was very disappointed with his Chinese purchase as the hand shock was considerable and "twang" very noticeable....!! Thanks again for allowing me to be a part of "Team Mead" in the world of Primitive Archery."
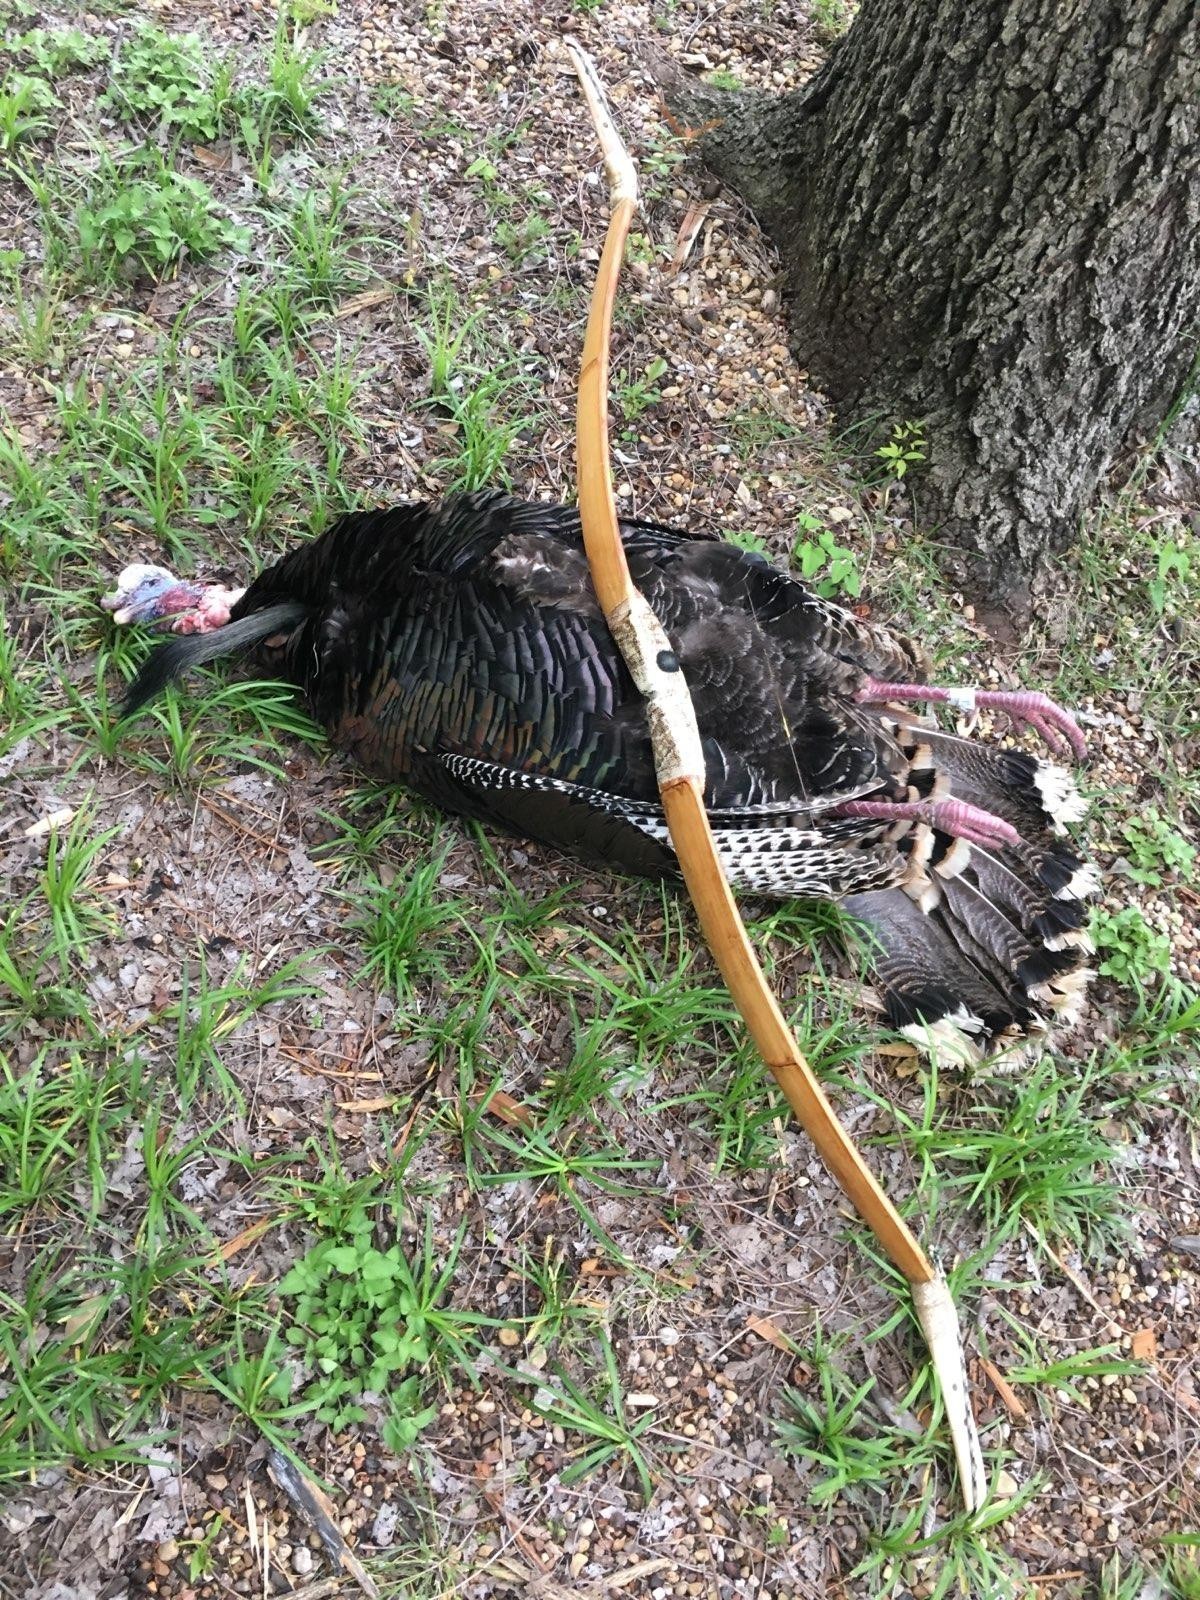
Larry Ross
"Just wanted to let you know how pleased I am with my horse bow. I must admit I was skeptical of your claims, but it didn’t take many shots for me to be convinced that you are on to something special with your bamboo bows. After playing making bows for 20+ years, I can make a pretty good straight limbed osage self bow, but what I can’t do is make one shorter than 5 feet that I can shoot accurately (with a 30" draw length). I can’t explain why, but for some reason I’m just about as accurate with your 50 inch horse bow as I am with my 5 1/2 foot osage bow. Maybe it’s just mental but it’s none the less real. One of my favorite times of the year is spring turkey season. Bowhunting turkeys with my osage bows has meant waiting in a blind since it’s difficult to hide sitting on the ground and still be able to shoot a 5 1/2 foot bow. Your 50 inch bow has freed me from the blind and allowed me to be much more flexible. It’s always easier calling turkeys from some place they already want to go and with a short bow that I can shoot sitting with my butt on the ground, I’m able to quickly move as necessary. This fall I’ll hunt deer and hogs with the horse bow. I expect to hunt a lot more from the ground and not be limited to locations with climbable trees. Without the requirement of carrying a tree stand, I’ll be able to range much further and access areas that were previously unreachable. Thanks."
(Larry successfully harvested 2 wild pigs last season and so far 1 turkey in the 2018 season. Congrats to Larry and thanks for sharing!)
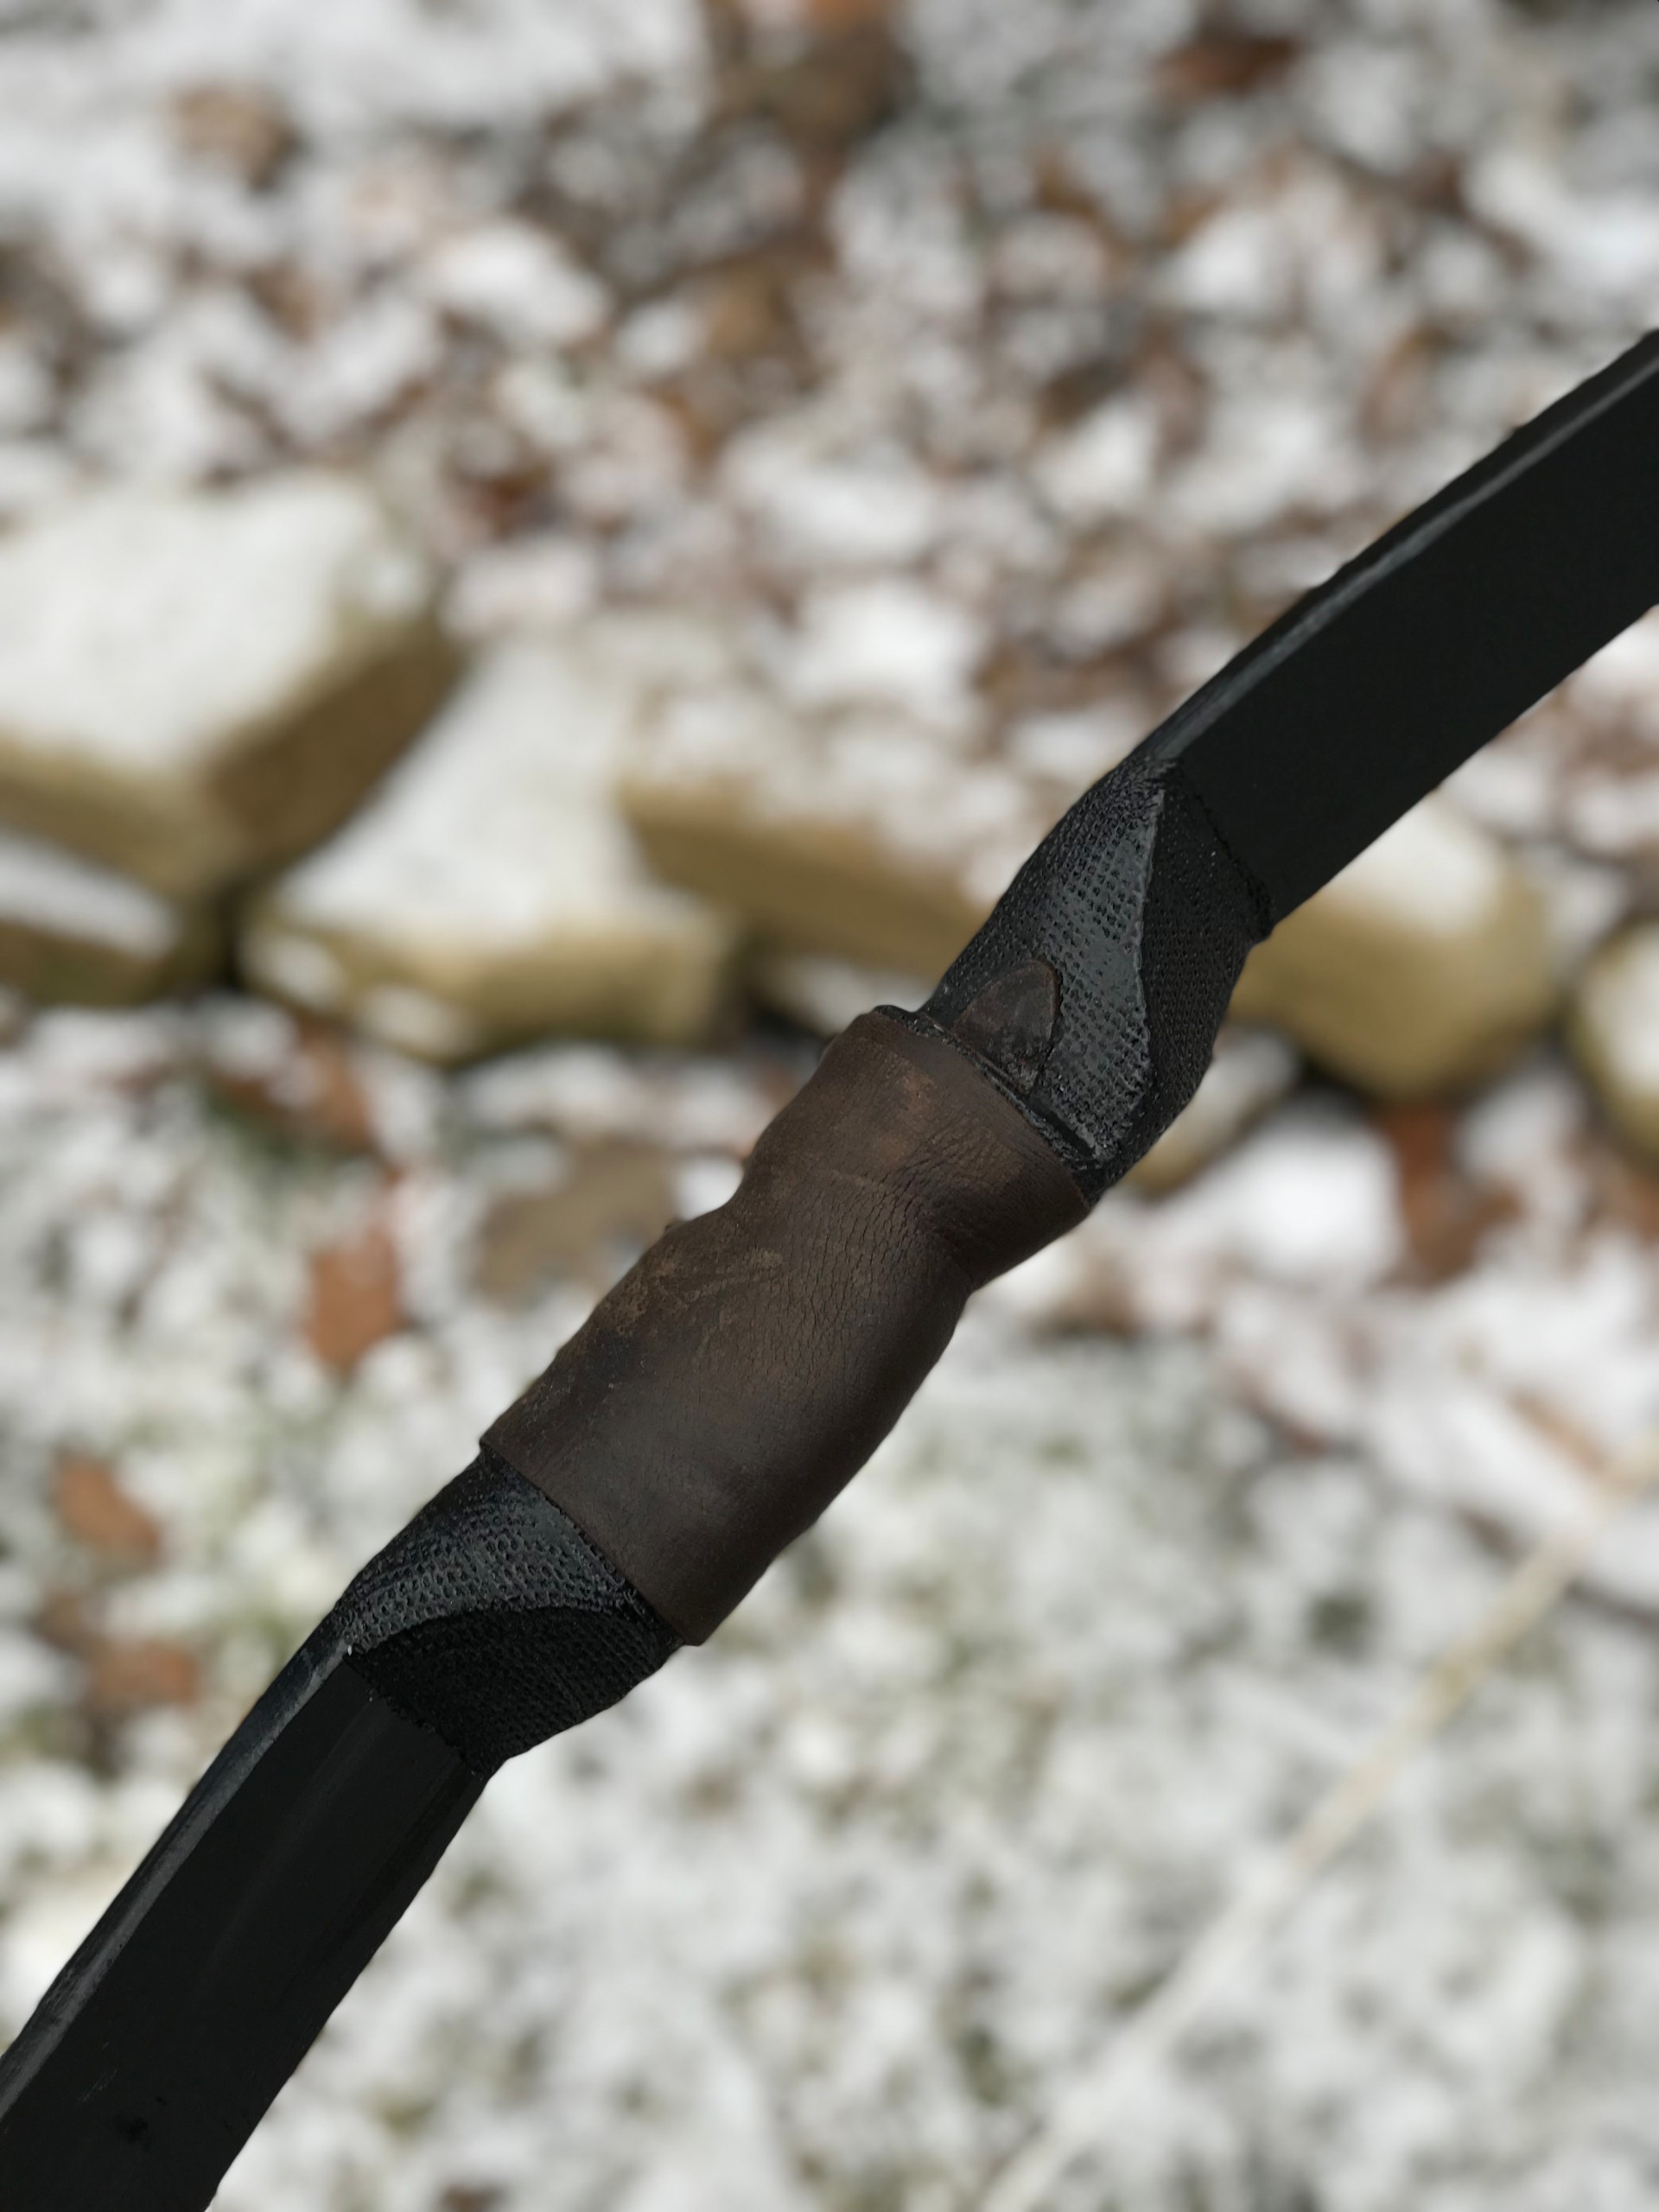
C. Davis - Georgia
"Dave,
Received the kit, assembled the bow and just shot it. Fan-Tas-Tic!! I’m going to cover the handle and siyah/limb joints with leather. Will send pics when I’m done. Thanks for all of this."
"Dave you were right about this type of bow being a different animal it punches way over it's weight class. Finding most of the arrows I have on hand shoot weak! Thanks, Mike"
C. Limon - Brookings OR "Thanks Dave
I liked the last recurve kit so much had to get another
Thanks again!"
Speed kills! It Improves accuracy and makes you feel great when your arrows fly like bullets! Get the fastest bow at a weight you can shoot with precision and enjoy the rewards!
J. Matern - Athol, MA
"I want to start out by saying that I received my bow on Monday and...just...wow. It is absolutely fantastic! I added a thin stacked leather arrow shelf (inspired by Nick Tomihama) and wrapped the handle with suede leather lace (I may change this later). This bow is the best performing and most pleasant to shoot that I have ever had! From the first shot I was amazed at the perfectly straight, bullet-like trajectory. I haven't even tuned my arrows to it yet! I watched all of your videos (and others' reviews of your bows) while I impatiently waited for it's arrival and thought I knew what to expect...but I was still amazed at the performance of it and just the pure joy I felt shot after shot! You do fantastic work my friend! If I had any less self control I would just keep ordering bows from you and would cover my living room wall with them! Haha. They are as beautiful and unique as they are deadly!"
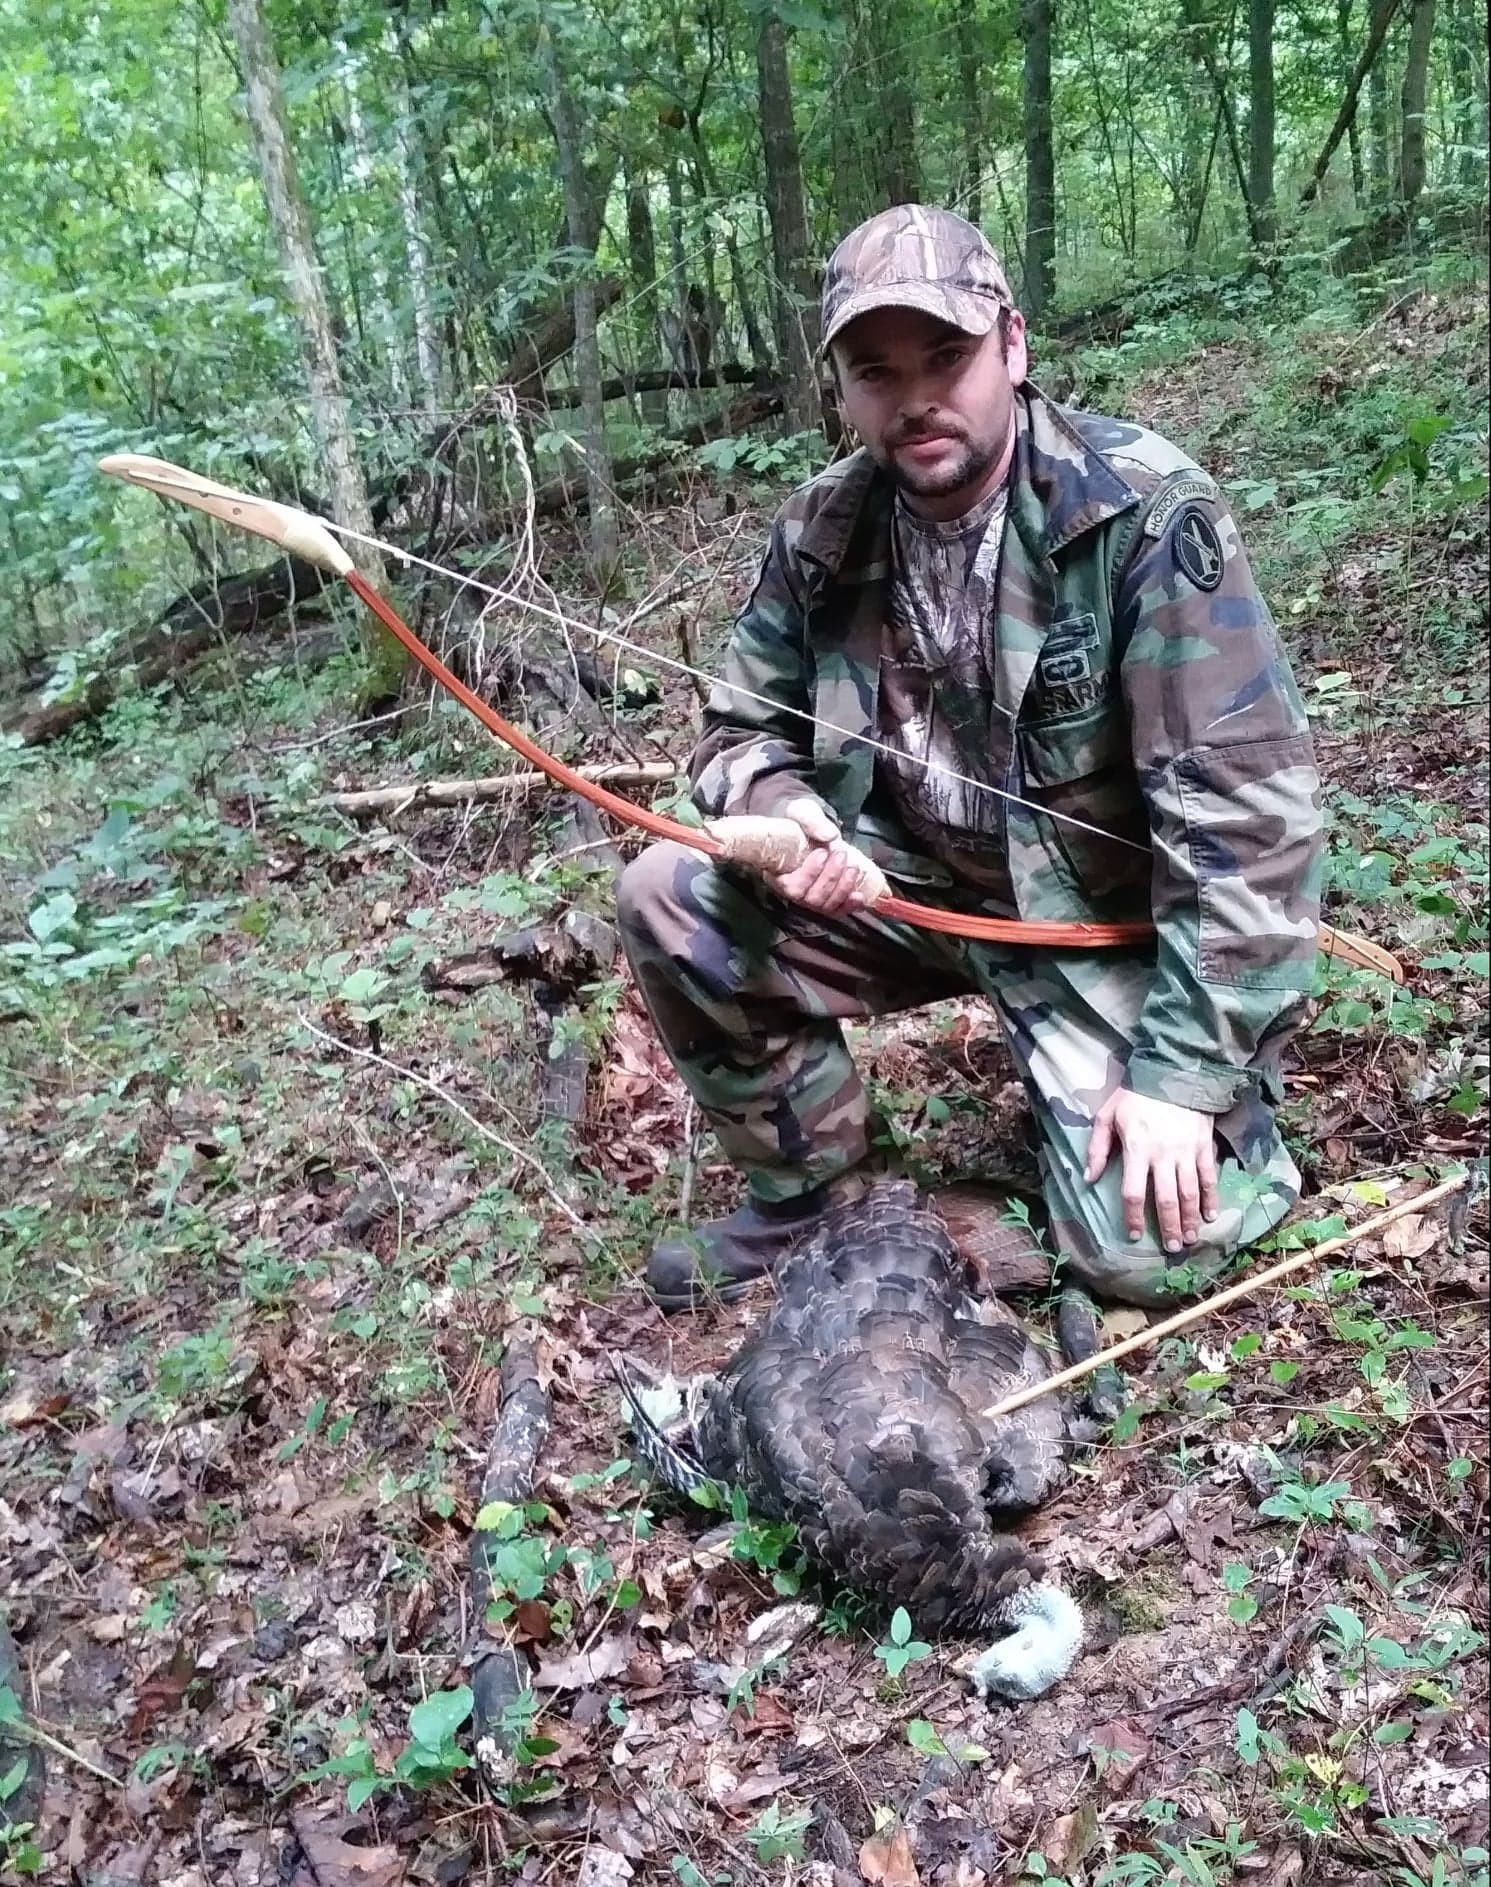
Andrew - Glasgow KY "Dave thank you man for making one of the world's best primitive bows it was great! I just don't have the words to describe how great a feeling it was . The arrow buried right up to the feathers almost came out the other side. I hope you enjoy the videos sorry for the quality I only had a cell phone but I will make sure and send you some feathers this was awesome could not have done it without you!"
You could probably build one from wood but would have to be twice as big to have enough power and efficiency of an actual bow. 2 automatic issues arise with that...1 it will be huge and not good for tight quarters hunting. 2 it will be time consuming involving many steps to brace the prod and cock it. Most crossbow designs are very inefficient for what they are. I have created a small crossbow of lighter more manageable draw weight that can perform like a bow in hunting situations.
First ever composite crossbow offered in a kit!
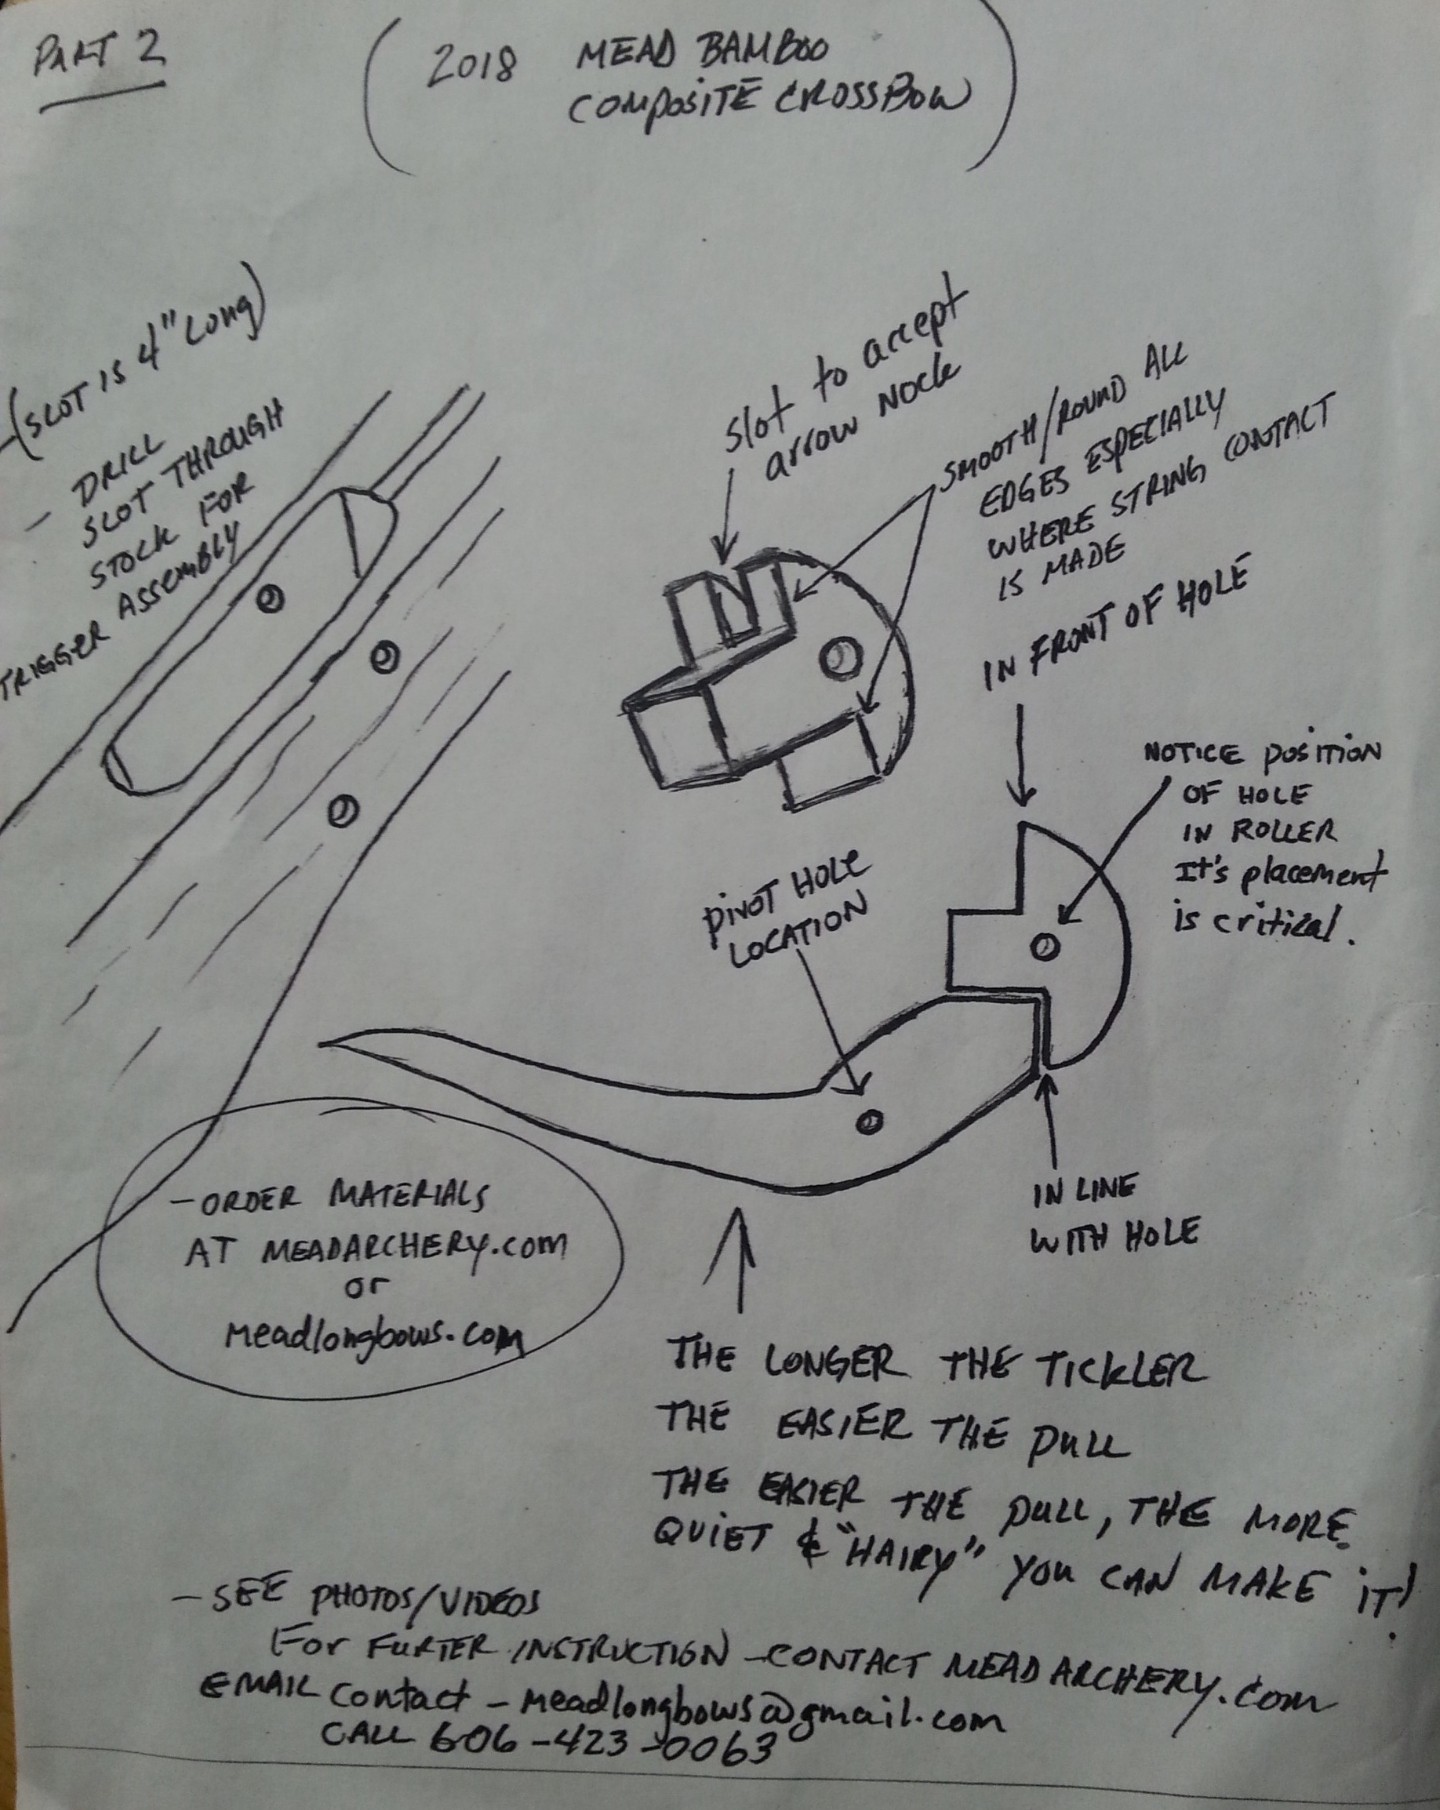
Ever wanted to hunt with a crossbow you built? This can be made to shoot bolts and arrows of varying size and weights. In the video I use a 580 grain arrow with 175 grain point, and a 670 grain arrow with a 200 grain point. As you can see this thing packs a wallop blasting through everything! It's only 50 pounds! The compact powerful bamboo limbs efficiently do the work needed to devastate the targets. I shot at a wild boar scapula, a wild turkey wing, and a 1 inch thick wild boar shield/plate. The foam behind the targets was about 6 inches thick when shot at bone, and wing. (arrow stuck in tree) Behind the boar shield was 12 inches thick of dense foam. Arrow went thru the shield and penetrated into the foam an additional 7 inches.
This is so easy to use and a lot of fun! It's lightweight, and compact. The stock feels like a small 10-22 it's very user friendly. So easy to brace and so easy to cock. No tricky levers or stirrups needed to operate this little guy. Do you have a blind ready? This one is still kinda crude but dang deadly! Let's see what you guys can do to one of these kits. Click here to find out more
Some of it's cool features:
small size
lightweight
ease of use
power
ease to build
parts availability
easy to brace and load
fits in blind /tree stand
uses all types of arrows/bolts acts like a primitive bow but is so much smaller
Oh yeah and if you wish you can leave it strung if you want, I tested this on one of my deflex recurves left strung for the last 2 yrs and it has only lost 2.5 lbs of weight. I made this stock, and accessories all from scrap I had laying around. The stock is a short piece of 2x4. You can of course jazz it up with exotic woods, etc.. The key to this crossbows performance are my bamboo limbs.
Take this mean little package into the woods! Everything for the stock and trigger can be made from hardwoods, the roller nut can be made from seriously hard dense wood like I did or nylon, steel. Since the video I added small pieces of foam rubber (flip flop) to a few spots where contact is made when arrow is released. Much quieter now.
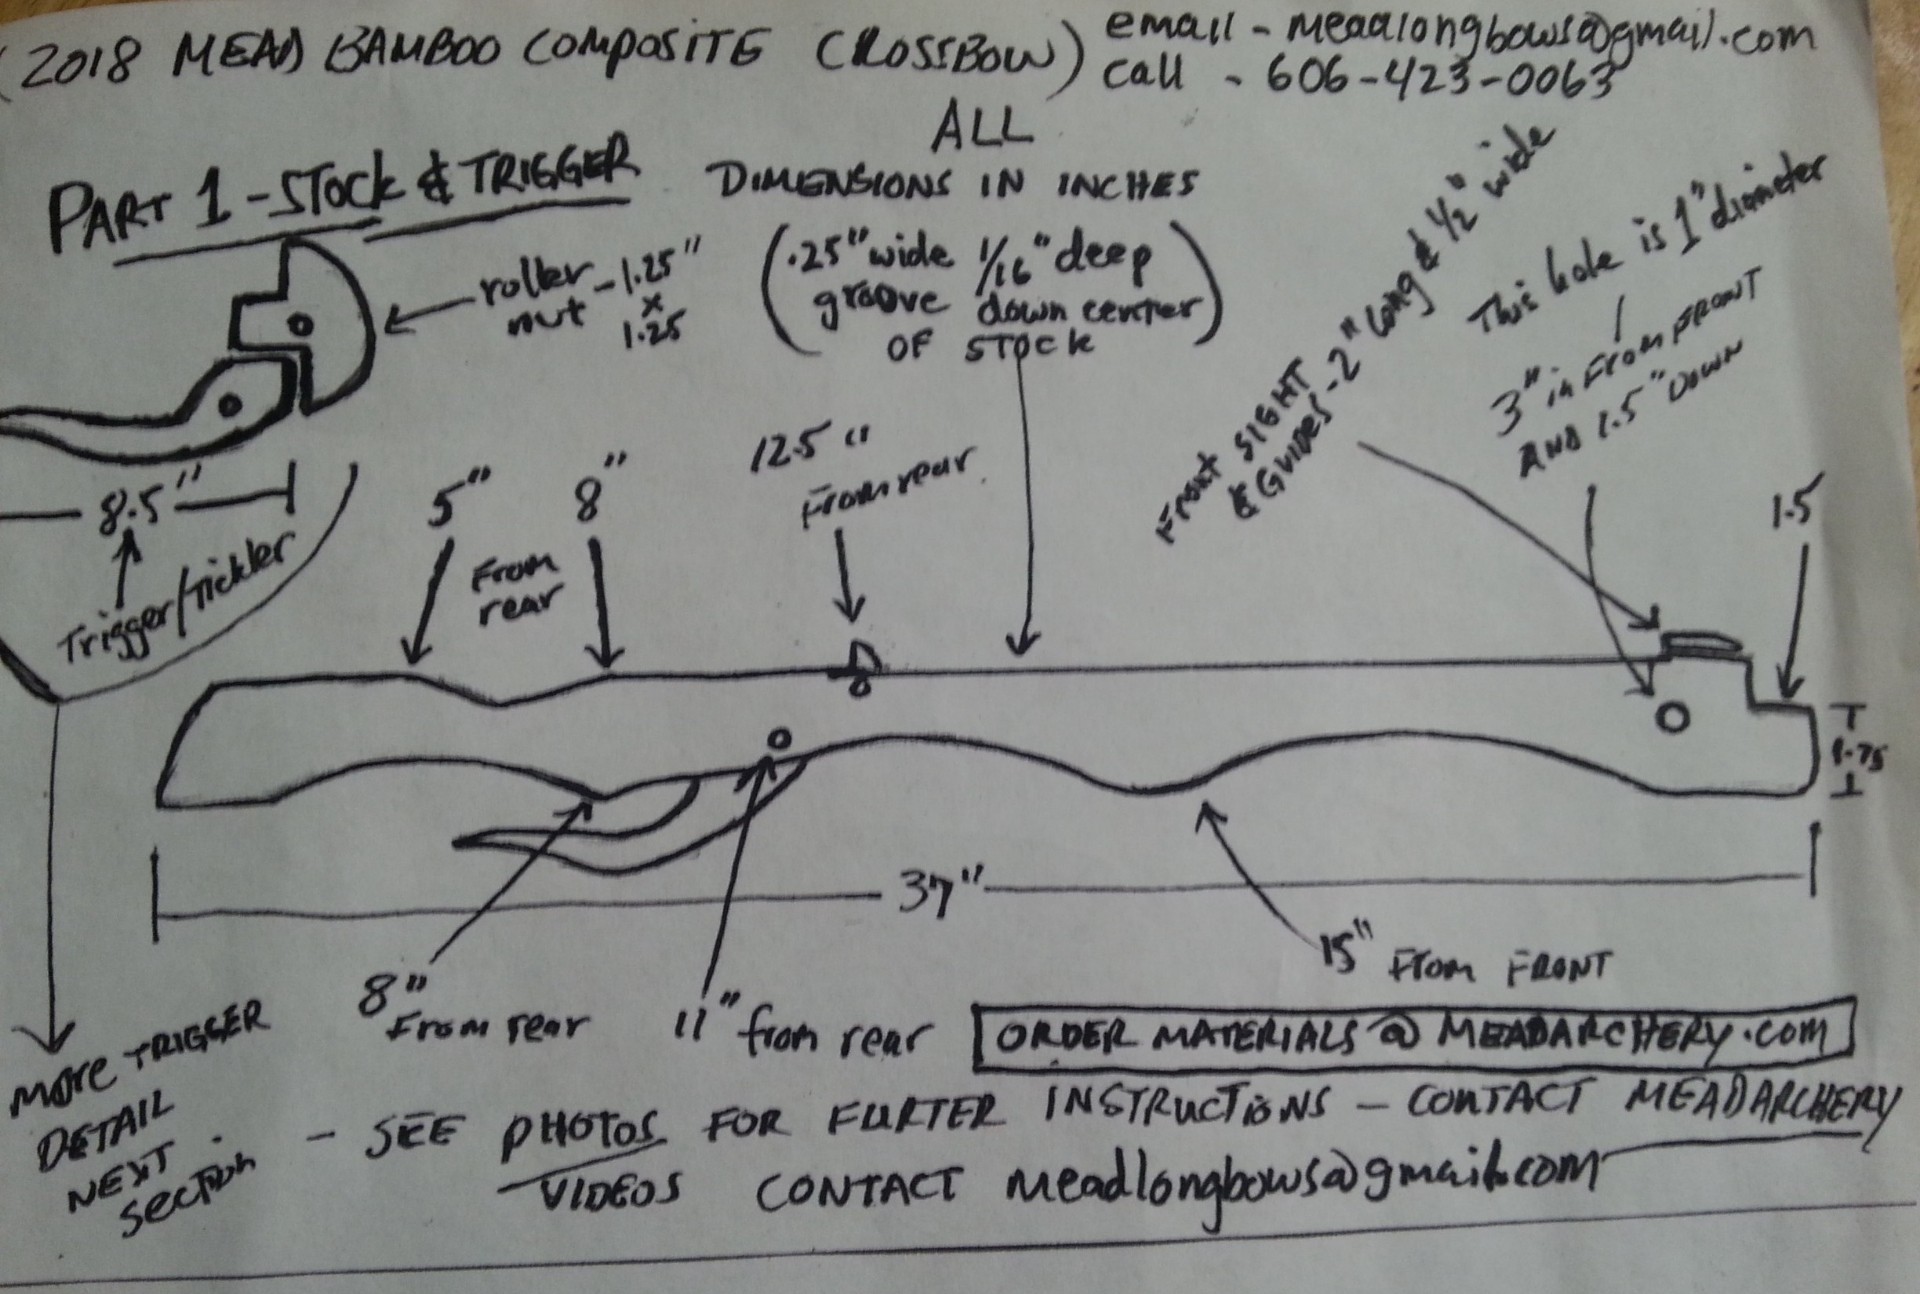
My materials list was as follows:
A 2x4 37 inches long for stock
small block of ebony for roller nut
small piece of sheet copper or similar for roller nut face - increases durability and decreases string friction.
2x3x18 block of maple, white oak, ash or similar with excellent grain for siyahs, handle riser, and trigger arm
Thick 3 ply natural cordage - 6ft long
2 treated bamboo billets
Industrial strength glue sticks - 2
Bow adhesive wrap - 1
Hardwood dowels or sections of tonkin cane - 6 inches long 5/16 thick
bowstring material
So why did I build another crossbow? Well my first crossbow build over a year ago was just for fun and much more crude. It worked great for what it was. Some of you might remember when I took the prod off the stock and shot it like a bow in a series of torture testing videos. I will put them below in case you want to watch.
Since then I have had a lot of request to offer this as a kit and I recently cut my finger pretty bad to the point where I could not work on bows or shoot them for a couple weeks...so I am not the kind of person that can sit and do nothing... I had a short draw deflex recurve already made and decided it was time to upgrade the composite crossbow...so here is crossbow 2.0 in 2018!
New 2018 crossbow
2017 Crossbow with a mini horsebow
Torture testing of mini horsebow
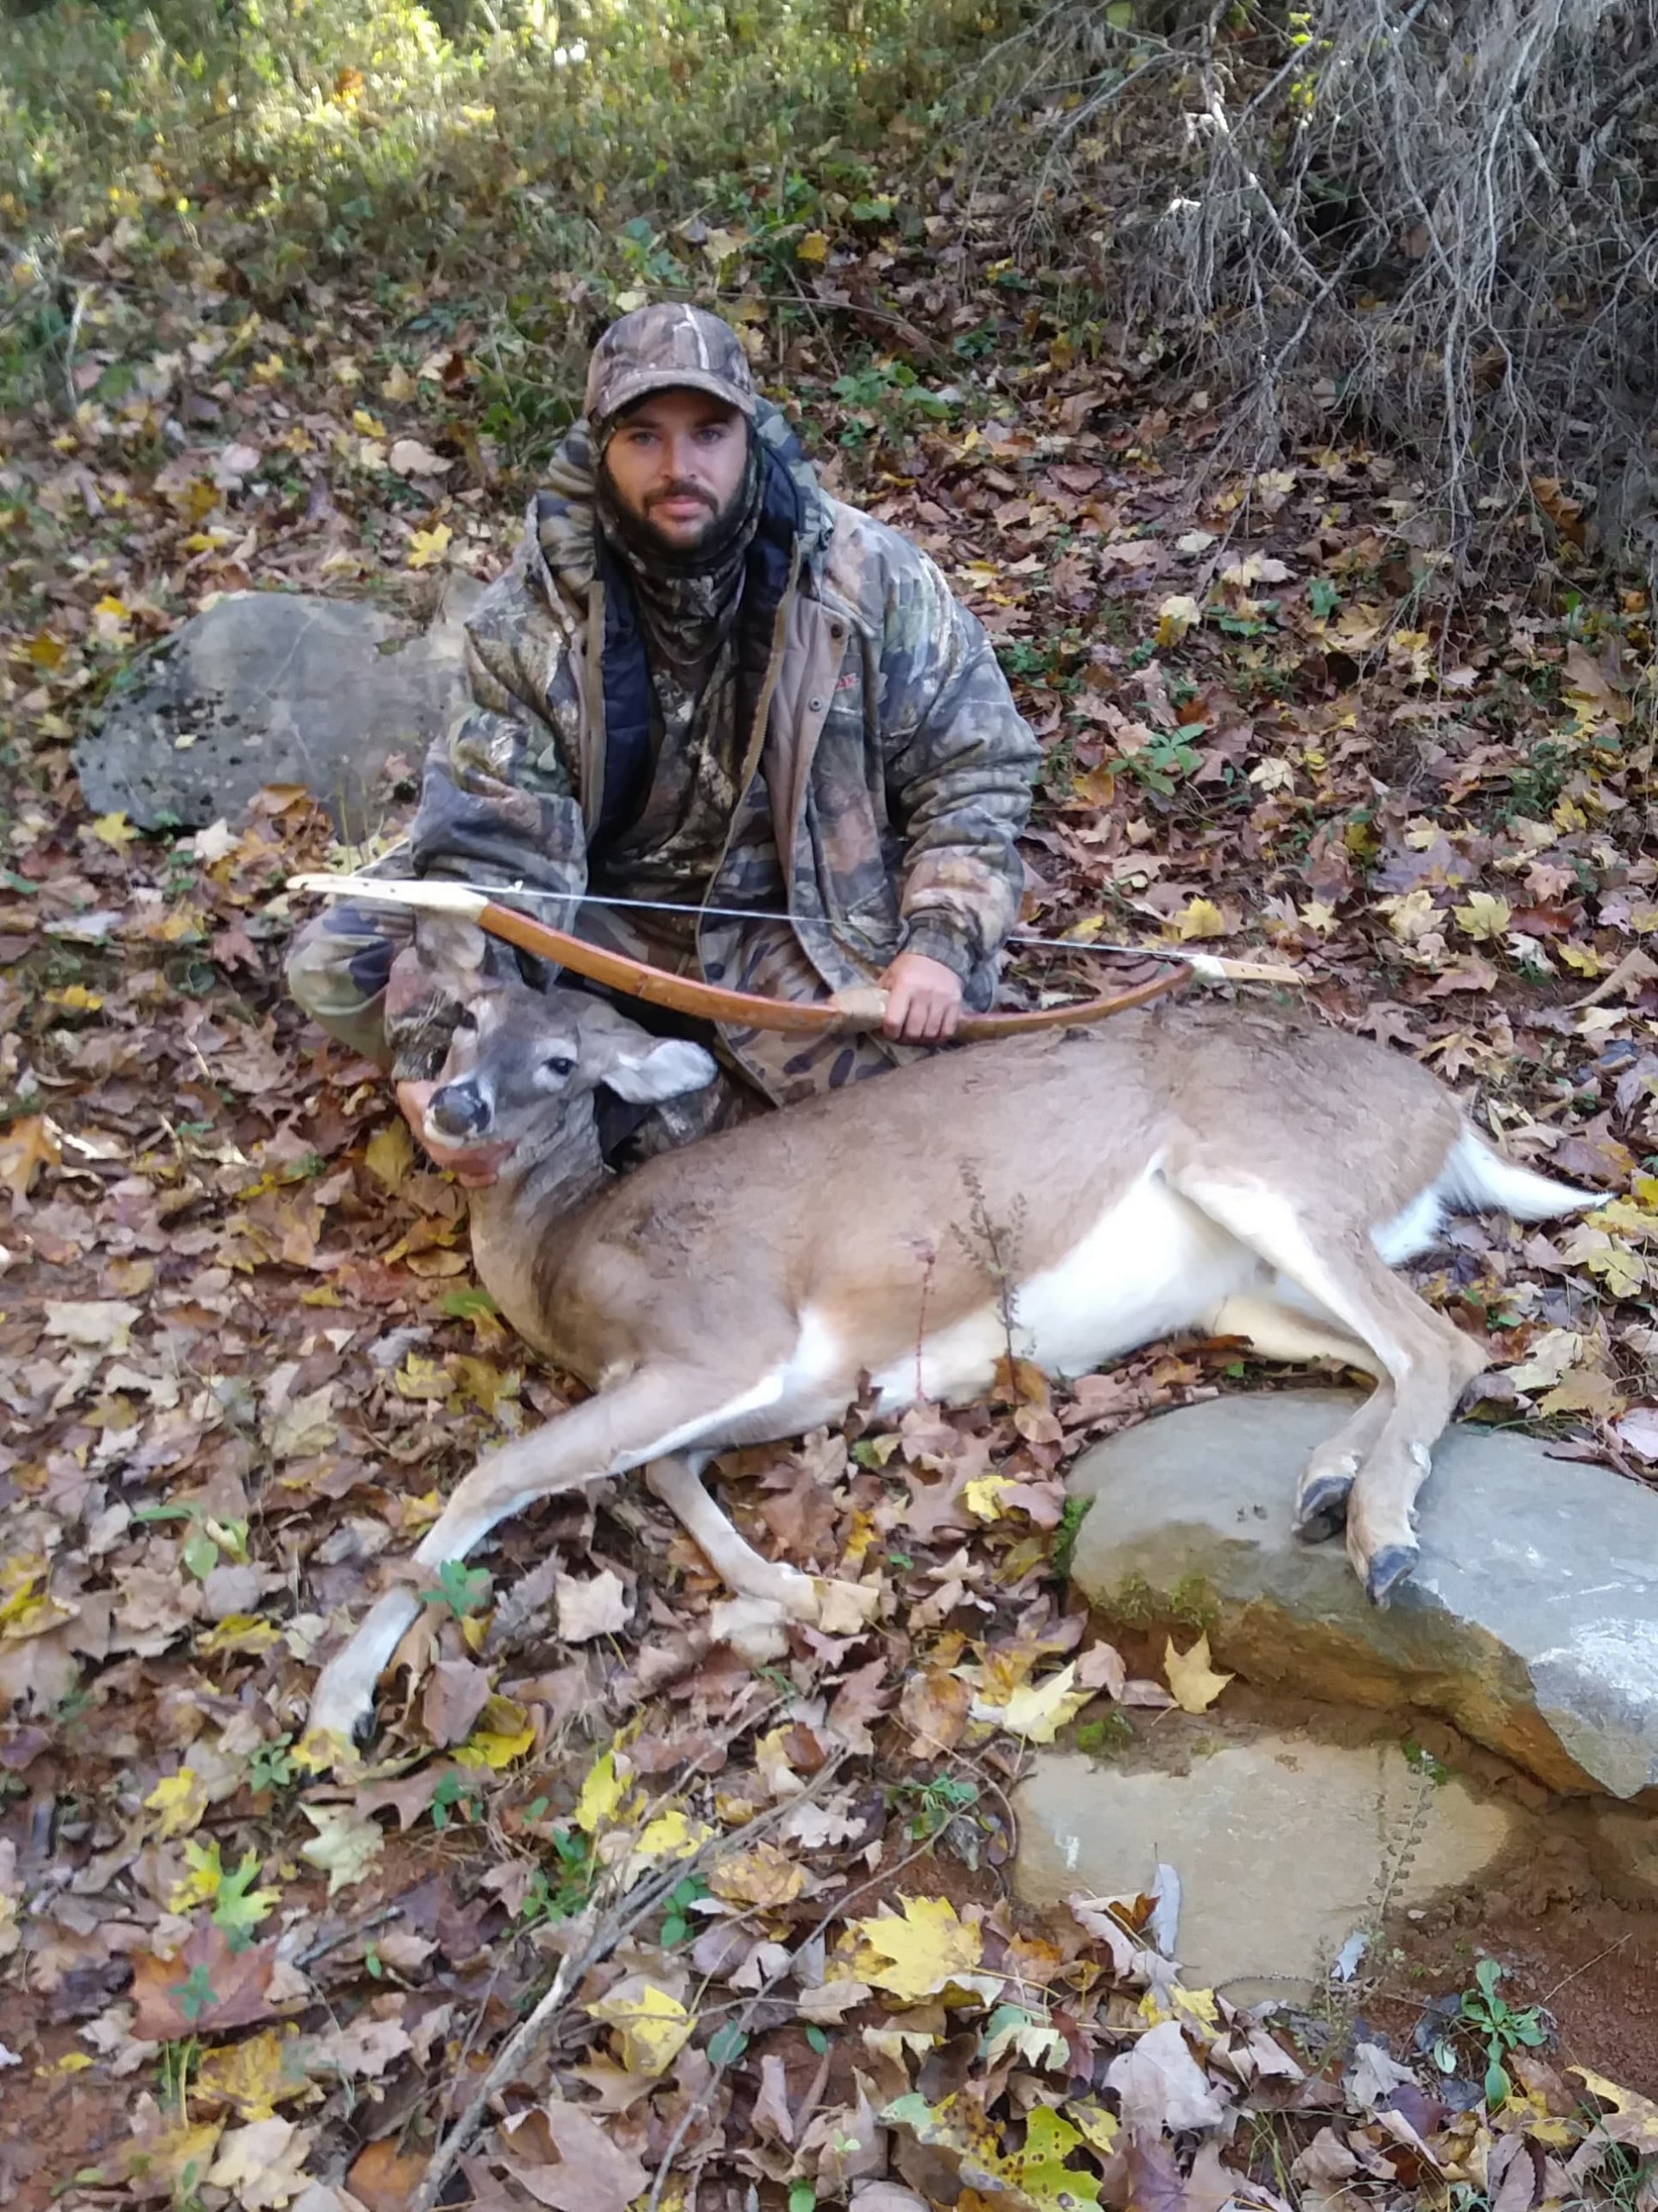
Congrats to Andrew on his 1st ever harvest of a whitetail deer with Bamboo Horse Bow. Made a complete pass through and went down within a few yards. Nice work buddy!
"Hey dave, I've got the chance to shoot the bow for the first time today, and it is a marvel. I can't overstate how happy with it I am. It's as if it was made for just me, I've been shooting it for a couple of hundred shots today, and I've yet to miss my 5 inch target at 15-20 meters. I am so incredibly impressed with the bow, and it fills me with joy shooting it."
All the best,
Kjartan
Norway
Instructions for Sinew composite bow kit
1st prepare the bamboo billets/limbs using a farriers rasp or shinto rasp. Trace the profile and shape to the line with the rasp. Then rasp, file or sand the back (waxy layer -rind) off the limbs.Use a fine file to make tip of limb where siyah will mate up perfectly flat and level. Then take a sawzall blade or similar to carve in shallow vertical grooves on back of limbs.Then glue the siyahs to the limbs and align them perfectly.Next glue the limbs to handle and align perfectly. Let cure.Then using rasp shape handle area to your liking.(choose horsebow or deflex recurve).it is best to go less than desired feel in the hand as the sinew and final wrap will add girth to overall handle thickness. Preparing sinew - twist it to break it up do not pound it. Pull apart long strands and begin to create bundles. soak the sinew bundles in room temp water, then comb them out several times to remove/clean it. Rinse and repeat this step a couple times. Get your glue started. Mix the granules in water 1 to 3 ratio and let absorb. Then put in warmer and begin to mix/stir to desired consistency. It is best to be like thin syrup. I use an old dog comb for years to comb out my sinew works perfect. Comb out all excess tissue, grease, short pieces, and knots. Once this is done use a plastic scraper to smooth both side like a flat sheet. Use warm water to keep sheets moist.Apply glue to limb, then to both sides of sinew sheet and apply to limb.Then smooth out with fingers, and apply more glue to it. Then apply glue to handle area and wrap using same technique. Then wrap/bind siyah area using single long strands of sinew soaked in glue. Repeat for other side. Reverse (very slightly) string the bow by tying a string in each top hole of siyah and immediately place it in a controlled climate. Hang it up somewhere from string out of reach of critters.. Let hang until cured. If you have a way to check its weight(mass) weigh it next morning then note this weight and date. Weigh it in one month, then weigh it every week thereafter to see its changes and when it stops. Keep tension on string in reverse to prevent sinew from delam during curing. The string will get loose after several days, just pull it a little more into reflex then tighten string up to 6 inches. Use shinto rasp to remove excess sinew and bamboo off limbs to begin the shaping/tillering process. Then sandpaper. Constantly checking each limb for balance of power my knee tillering technique. Find stiff/thick spots and even out with rest of limb. Once you get close begin to count strokes on each side and stay this way until it is tillered. Once limbs bend enough to string the bow, prepare the siyahs. Start with shinto rasp, then sandpaper, then scraper or blade. String bow check tiller.Use needle files to clean off edges of sinew on limb edge. Then fine sand limbs.complete finish covered in my bamboo horse bow users manual.Natural jute cordage (waxed) 2 ply is inexpensive, offers the most positive grip in all weather conditions, can be redone simply, and in the field is a great fire starter if ever needed. Every time you string it up check its balance.
Note: Refer to building the deflex recurve instructions and videos above for more detailed steps on shaping/tillering bamboo.
Check out the NEW bow building book here
Welcome to the world of Primitive Bows!
NOTE: see new instructions below re: glass/composite or Comanche bows Thank you!
It takes a lot of work to build a proper bow, but it also takes a diligent archer/new owner to nurture the character of the bow. These bows are truly alive, they react in weather conditions just like we do and will not tolerate mishandling. My glass/bamboo composite bows are not susceptible to change in weather but do not tolerate abuse either, especially incorrect stringing methods. If they arrived at your home and feel hot or traveled for a couple days during hot months or frigid then let it have time to come to a normal temperature before stringing and using. It is at minimum best to let it acclimate to your home for as many days as it took to arrive. They traveled a long way in a non climate controlled environment, adhesives and natural materials change in extreme hot/cold. I don’t ask nearly as much money for my bows as others do - but my bows demand the same respect you would give a $3000 horn bow. Today most people are used to buying a product and whenever something is wrong with it, blame the manufacturer. Purchasing a composite bow made from natural materials is more like raising a pet.. If you treat it as if it is alive, and follow my guidelines this bow will perform for you day after day just like it has for me. Whether you are well seasoned in primitive archery gear or a newbie - My bows are different, most likely not like anything you have used before, and it is up to you to carefully/thoroughly read through the owner’s manual before using your new bow. If you do not follow or understand my rules the bow may be damaged the first day in your hands. User’s manual is attached, also attached in this email is a picture of your bows correct profile at brace. Make sure it looks like this at every stringing, after the 1st few times it will become easily noticed by you the new owner. This will need to be done at every stringing and in addition to that the bow will need to be exercised by using partial draws slowly working out to full draw once the bow is balanced just like a composite bow. Do not try to train or try to correct it permanent, you do not want to do this...this is wrong.it would ruin any bow….the correction/balancing is only so that it can be used safely for a shooting session or a hunt...then when unstrung within a couple hours or days it will return to its relaxed profile..this is good this is proper for this bow. If it has been a while since the bow was shot it will go back to its full relaxed position and become stiff and will need attention. If it feels this way and seems to be all of a sudden much more powerful than before, then you need to train the limbs very carefully to a correct profile that is balanced then leave it strung overnight or for several hours before even attempting to shoot it. This is the nature of my hybrid composites. If you ordered the deflex recurve/Assyrian style bow then training/balancing the bow is not needed.But the recurve still needs to be warmed up meaning partial draws and shots before going to full draw. It is best to brace the bamboo bow and let it settle in for some time, then bring it into the environment it will be used in and begin partial draws or partial shooting at ½ to 3/4th draw for a few dozen shots to ready the bow.. All of my bows will change in weight up and down throughout the year. Even hickory Comanche bows and these will take on some set (string follow) it is just the nature of hickory. (unless it was one of my fire hardened bows) If overdrawn and abused it will be a ridiculous amount of string if it doesnt break. If you think some of this sounds crazy, trust me I agree but it is the nature of the bow. Welcome to the world of composite bows! To enjoy formula one performance they need to be tuned and treated with respect like any fine instrument. This is also part of the reason us composite bow makers hold on to, shoot, train the bows for a good while before sending them off to the new owner. We try to ensure the best we can that the temperament is as tame as possible even though this is a lifelong relationship between the bow and it’s owner. Go check with any true natural composite bow maker and see if they require the same treatment, also take note of their high price tags while there. The balancing is not needed on my glass/bamboo composite bows but you must be sure that the string loops are set into the string grooves perfectly when stringing. Use the PROPER step thru or push pull method as described in my manual and videos. Make sure on all bows string loops are in string grooves and string is centered before attempting to string up the bow. Review my manual,videos and website for proper stringing method i.e where to place the handle and where to grip the bow with both hands. . Do not string the bow backwards, it will break! Pay attention to which side is the back of the bow and which is the belly when stringing it up and using. If you do not know ask me. Do not torque or twist the limbs when stringing or when shooting this will cause the limbs to warp in a twisted direction. If this occurs gently twist it back in the direction it needs to go. Please visit my website for proper stringing technique to prevent breaking your bow https://www.meadlongbows.com/store/product/horse-bows-by-dave-mead If not noticed for a long time, the warping could become permanent. My glass/bamboo composite bows can be left strung for days on end but the string may stretch some and change your brace height and nock point so keep this in mind, my sinew/bamboo composite bows cannot. Check tips for alignment and the brace height. All of my horsebows have super reflex and need to be drawn back in a straight line to ensure no tip twist occurs. No matter what I am here for you and the bow, I love each and every bow I make. Making a high performance bow is my passion. Keep in mind some of my bows are made asymmetric and require the grip location and nock on string to be at the exact point I have set them to be. Please do not change this or bow could be damaged. Your grip may need some adjustment if this is your first primitive bow without shelf. If you torque the bow in your hand with a tight grip then the bow could unstring itself and be damaged. A flat more relaxed grip is proper for this bow. Brace height for glass/bamboo bows is 5 - 5.5 inches, my primitive bamboo bows, and Comanche style bows is 4 inches max. The top limb on Comanche bows is indicated by an ARROW on the inside (belly) of the handle ^ indicates up. The belly is the side that faces you when you are shooting the bow. Make sure you understand this when you string the bow and shoot the bow. If not you could accidentally string or shoot the bow backwards which will break the bow. The bowstring has a loop on one end and a bowyers knot or similar on the other end. To put a nice quick shine on glass/bamboo bows Howard”s feed-n-wax is a great product, or any top quality car wax. To dull the finish and add a layer of water/scratch protection use bar paraffin wax. Top limb will be indicated by my signature/bowyers mark on siyah(bow tip or arrow mark on upper handle area). Please do not ask your local archery shop or similar for assistance with my bow. They have no idea what they are looking at. I am here to help so don’t hesitate to ask! Thanks again for the support, and enjoy your new pet! -Mead Tribe!
how to string a comanche bow https://youtube.com/shorts/E6ge5OuT4DI?si=A-M_l3MXH7oaNR7p